
Cancel
Top tips
The importance of changing the oil filter: practical tips for oil filter replacement
21 May 2024
If you want to keep your vehicle running smoothly at all times, changing the oil filter is crucial for its maintenance. Although it may seem like a menial task, its role in the long-term performance and life of the engine is key.
Therefore, in this article we will explain the essential function of the oil filter and why it is crucial to change it regularly. In addition, we will provide you with practical advice on how to replace it effectively, thus ensuring the proper functioning and longevity of your vehicle's engine.
Why is the oil filter important?
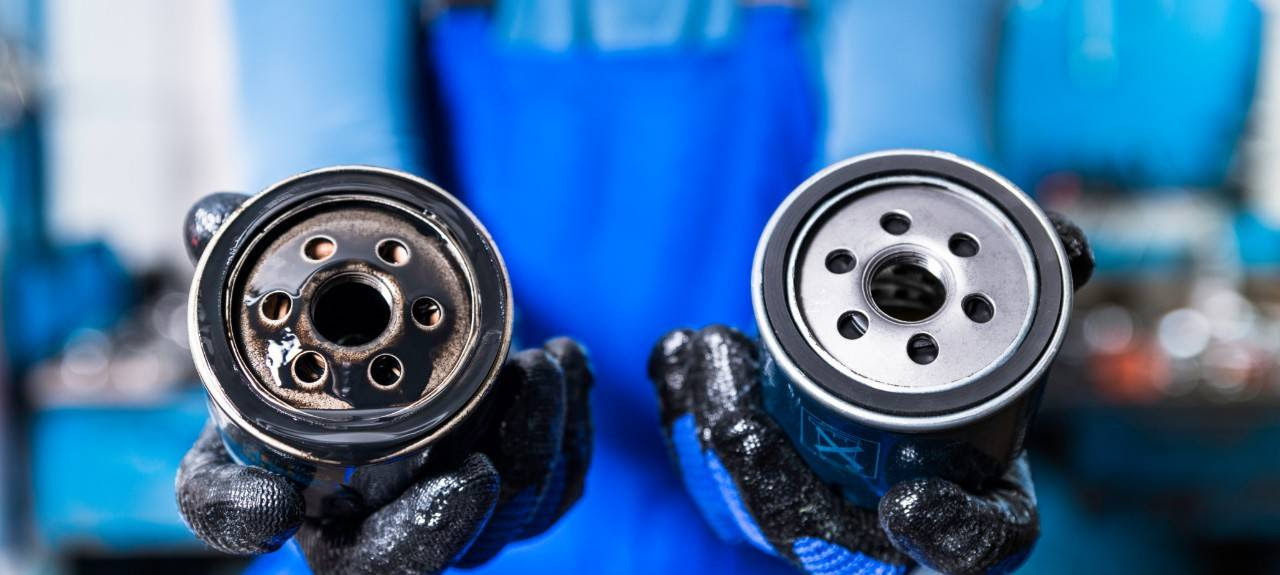
The main function of the oil filter is to eliminate impurities and particles produced by engine wear, which accumulate in the oil, thus preventing them from accumulating in the engine and damaging it. Its main function is to remove impurities and particles that accumulate over time in the oil, thus preventing them from circulating and causing damage to the engine.
Without an effective oil filter, these impurities could cause premature wear to the internal parts of the engine, reducing its efficiency.
When should the oil filter be changed?
The ideal frequency for changing the oil filter may vary depending on the type of vehicle or driving conditions, such as towing heavy loads or driving in extreme climates. It is best to follow the manufacturer's recommendations, although it is generally best to replace it every time the oil is changed.
How to replace the oil filter
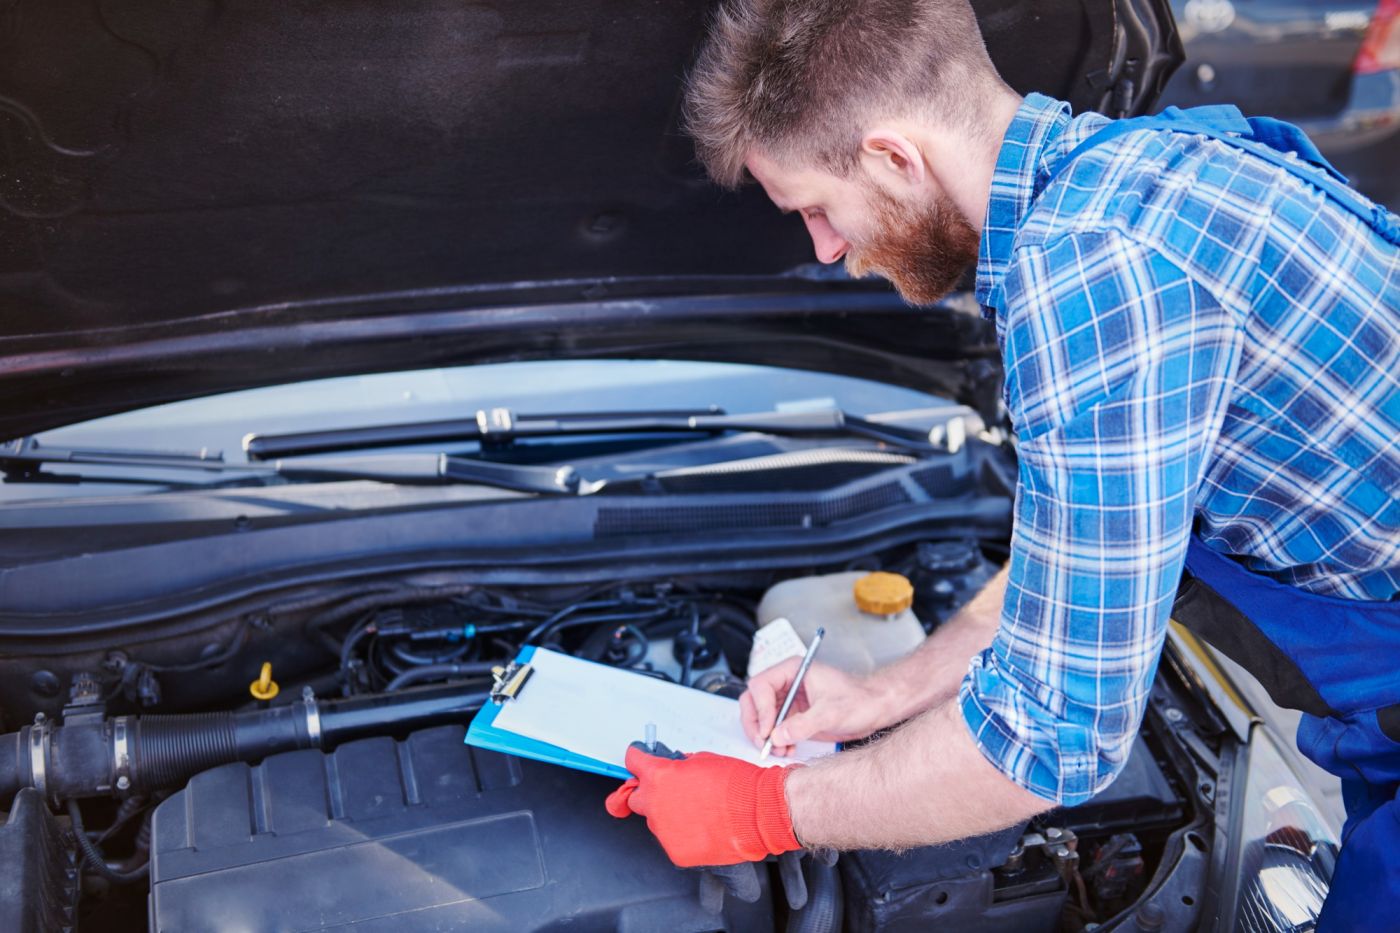
It is recommended to go to a professional repair shop for an oil change. However, if you want to replace it yourself, here are the steps to follow:
- Refer to the manufacturer's manual. Before performing any maintenance work, be sure to consult this manual for the manufacturer's specifications and recommendations.
- Safety first. Make sure you have all the necessary Personal Protective Equipment to perform the procedure safely.
- Gather the necessary materials. Make sure you have the proper oil filter on hand, as well as the necessary tools to perform the change, such as an oil filter wrench, drain pan, and protective gloves.
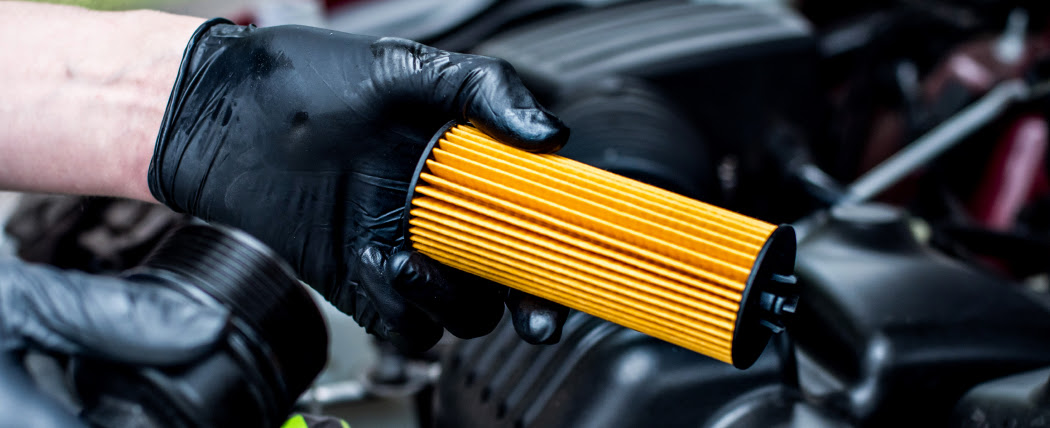
- Locate the oil filter. The oil filter is usually located underneath the engine. Consult your vehicle manufacturer's manual if you are unsure of its exact location.
- Drain the oil from the crankcase. Place the pan under the crankcase drain plug and loosen the plug to drain the used oil.
- Remove the old filter. Use the oil filter wrench to loosen and remove the old oil filter. Be sure to wipe off any residue on the mounting surface.
- Install the new filter. Apply a thin layer of new oil to the gasket of the new filter before installing it. Tighten it according to the manufacturer's specifications.
- Refill with new oil. Fill the engine with the proper amount of new oil and check the level with the dipstick.
- Check and clean. Once the replacement is complete, check for oil leaks and wipe up any spills before starting the engine.
By following these practical tips and replacing it in accordance with the manufacturer's recommendations, you can guarantee the health and performance of your vehicle's engine. Remember: investing in the care of your vehicle today can save you problems for tomorrow.
Related contents

Long car journey: how to check the oil and avoid breakdowns
Use these maintenance tips to prevent surprises during long road trips. Start reading to prepare your next adventure.
Show more
26 March 2026
How to recognize antifreeze leaks and avoid damage
We explain symptoms of antifreeze leakage, causes (radiator, hoses, water pump, thermostat, etc.) and best prevention practices.
Show more
14 October 2025

Thermal oils: what they are and how they work
Heat transfer fluids are a reliable solution in a wide range of industries. Here's how they work and how to choose the right one.
Show more
02 October 2025